Jumping Right In:
This post is a big one but has lots of amazing resources I would love to share with you! Ryan Mckenzie let us visit his lab and not only showed us around, but let us experiment with his resources. He had lots to show us so I chose a few of my favourites. Enjoy!
Design Lab Features:
I took a bunch of photos so here they are!
Laser Cutter:
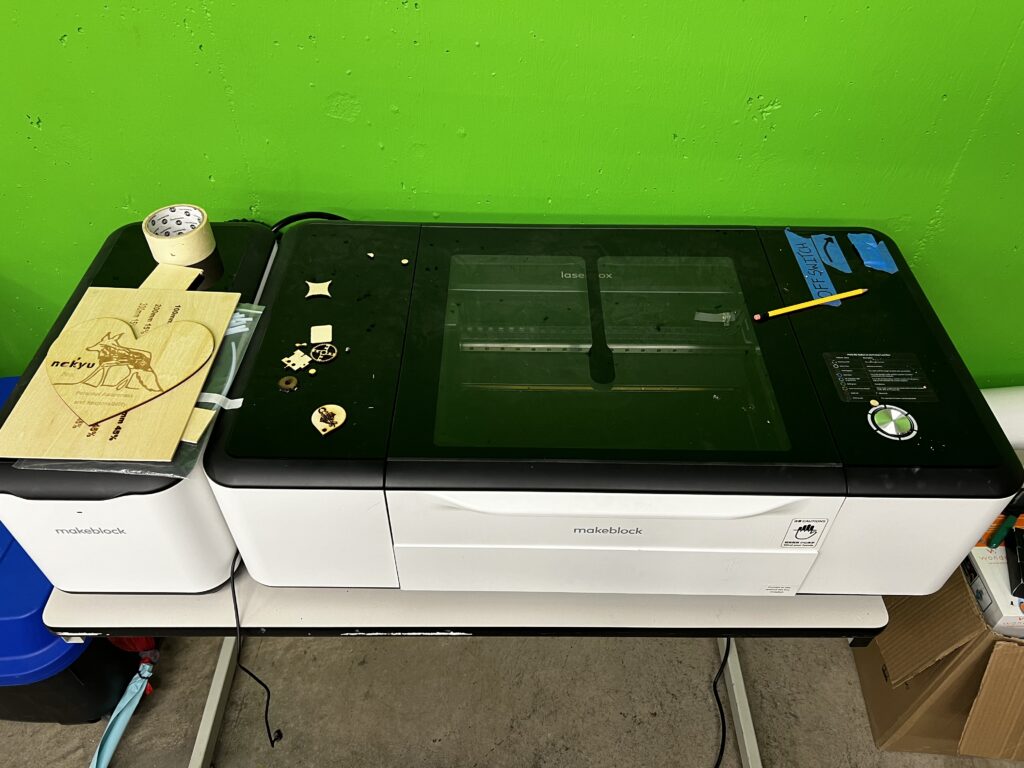
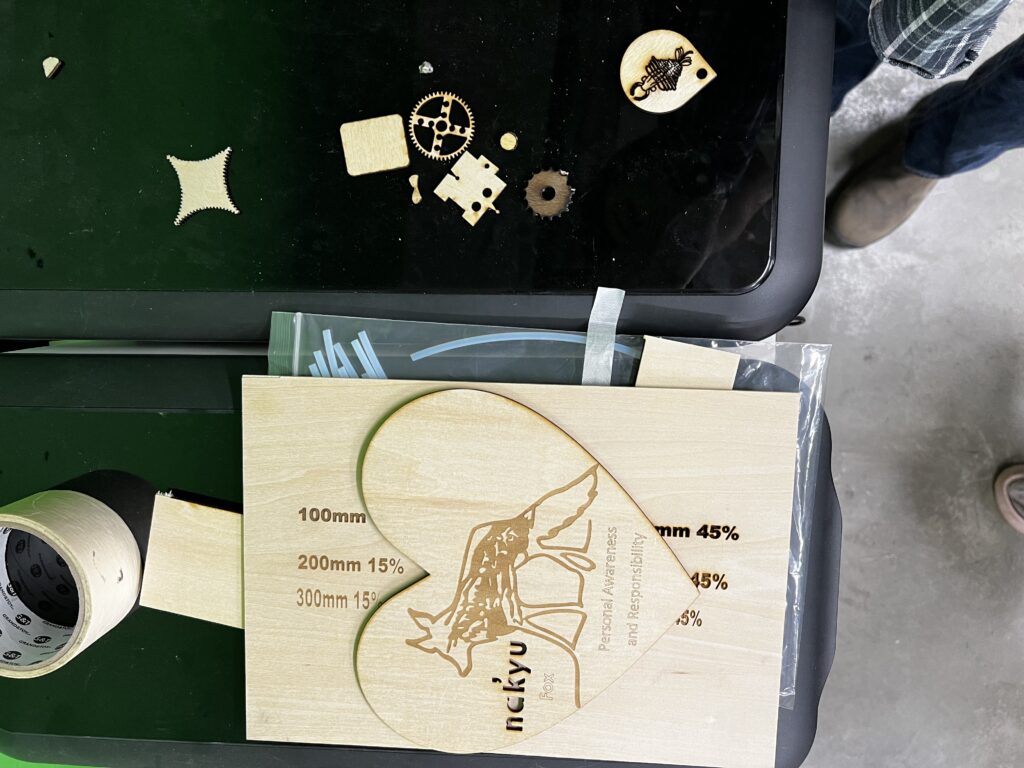
This here is a laser cutter in the lab. It can cut thin sheets of wood when programmed and placed into the machine itself. I love this idea for a young class to make a Christmas ornament or just a message into a sheet of wood in what ever shape they choose. We did not personally get to see it run but Ryan Mckenzie had a lot to show us.
Green Screen Wall:
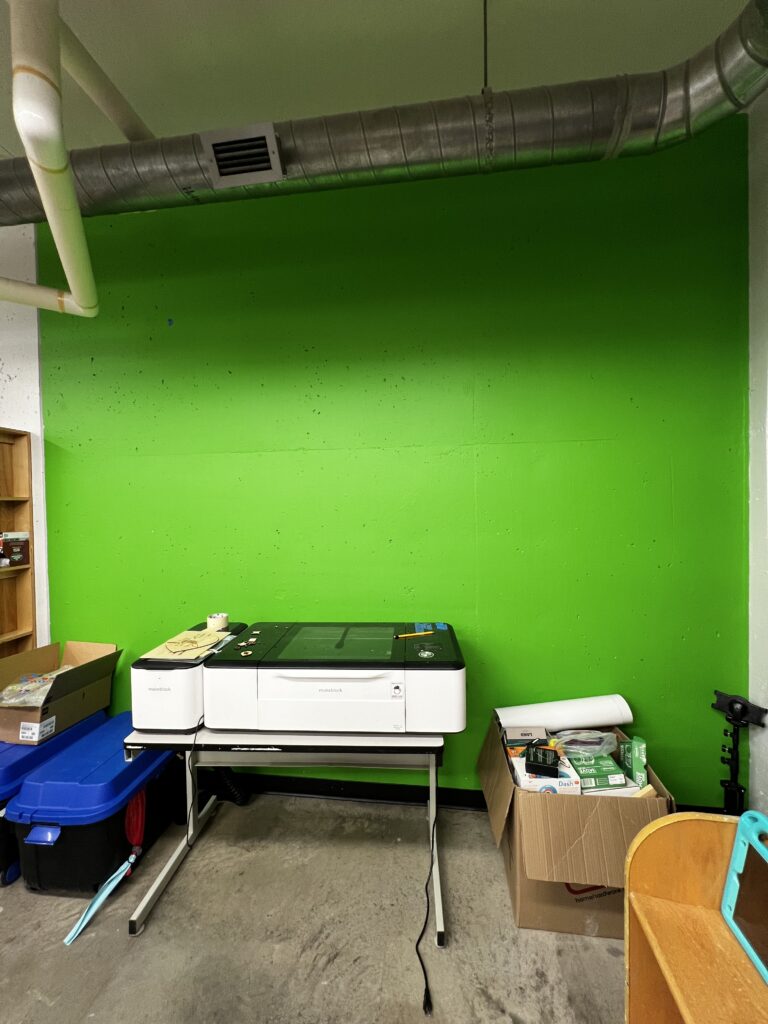
I personally think this is a great idea. In the image you can see the laser cutter but this wall which is probably a 10ft by 10ft square of painted green has many options if wanting to work with it. It allows students to play around with video editing but also can connect them closer to what they are presenting by showing different locations or places that their topic is on. I have never seen this in a school before but it can be utilized for so many different projects and can give students the chance to have a very creative imagination.
Train Models:
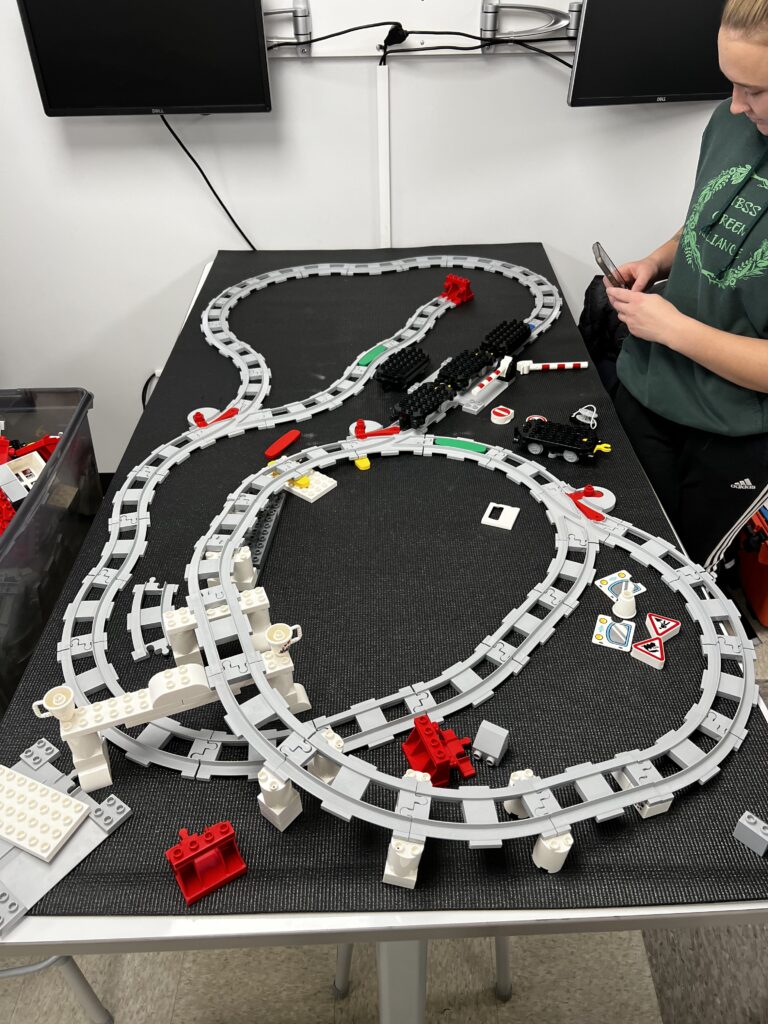
Mya, Connor, and I built this train track loop. The lead car in the model reacts to the colours in the track. At the start of the video the train reacts and stops on the blue track to “gas up”. The sound of the brakes and then the gas is all programmed into the car itself. At the end it hits the red track and knows to stop. The green track would have stopped the car and sent it in reverse but I did not get a video of that one (my mistake). I think you could use these pieces in many lessons and can learn lots from it. Collaboration can be learned from this as well. I know some of my ideas did not work and with the help and suggestions from the other candidates we were able to successfully make a 3 looped track after many different attempts. Resiliency, innovation, and imagination can all be trained/taught by doing this.
Makedo Tools: Makedo
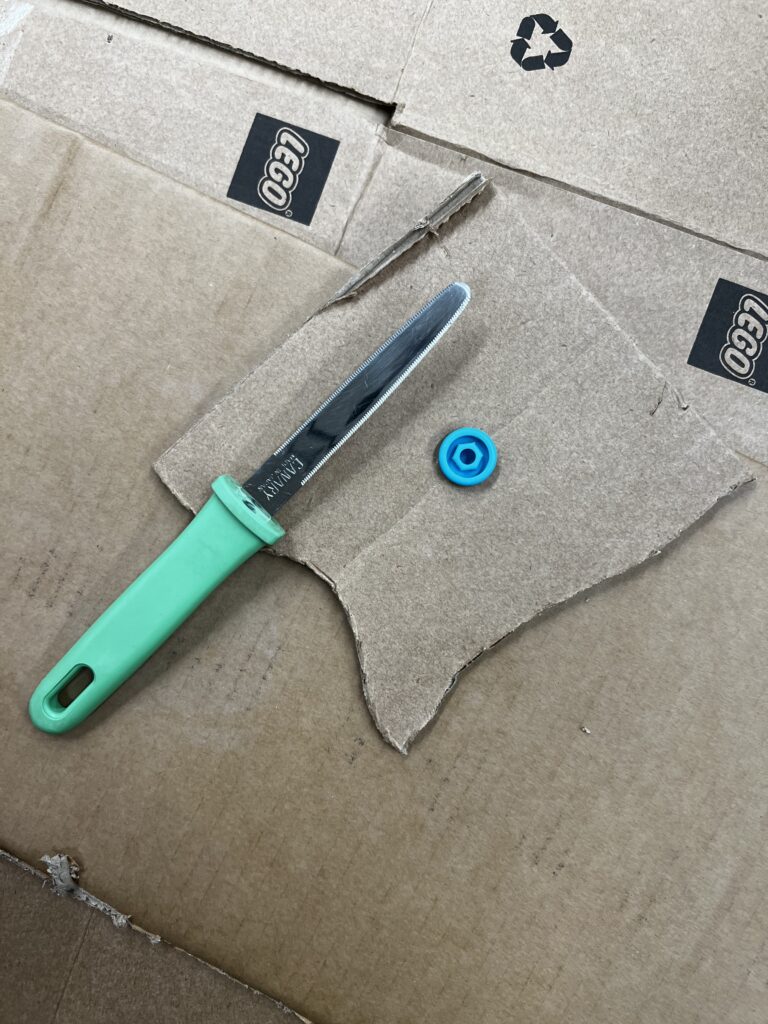
This is a cardboard knife which is way easier than cutting with scissors. It allows you to cut through cardboard safely with being able to make whatever shapes you’d like in the cardboard itself. Sarah, Dannika, and I thought it would be a good challenge to build a house!
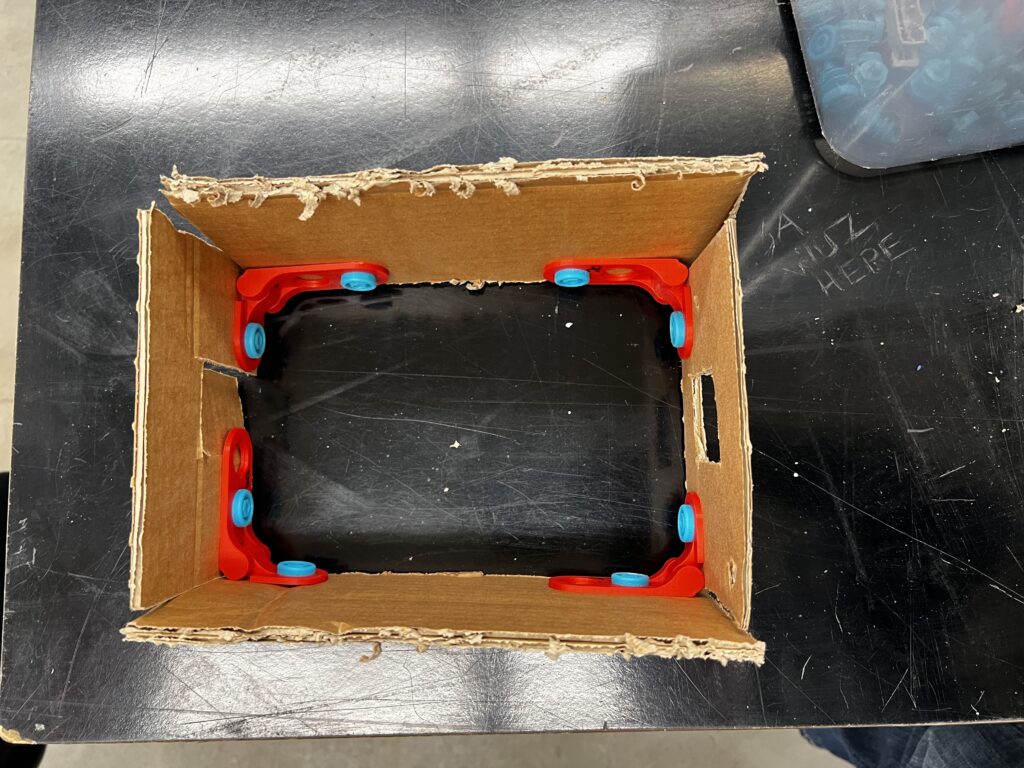
This is a birds eye view of our house without the roof. We used makedo brackets and screws from the bin to connect each wall together. You are able to see the door and window in each wall from the cardboard knife. If we wanted to make it more structurally sound we could have added a bracket in each corner at the top of the walls as well.
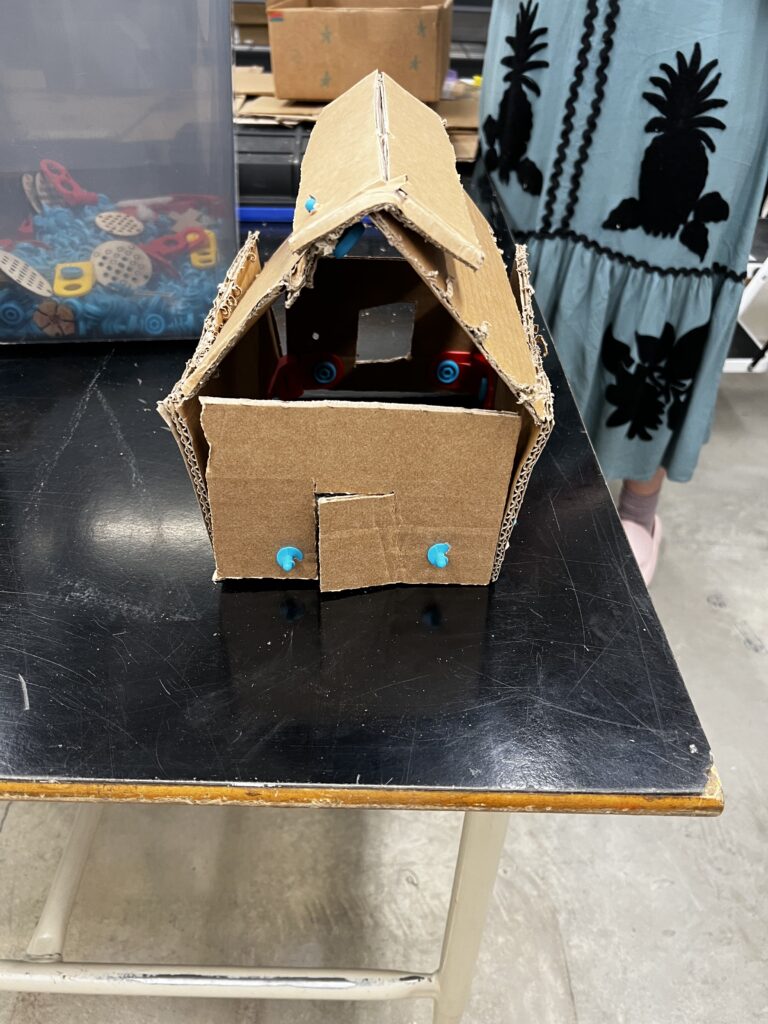
We then attached an A-frame roof which was 3 pieces of cardboard put together by the makedo screws. As mentioned above, if we added more brackets it would be more solid. We did not do it as we all understood what it would look like if we did and we wanted to try all of Ryan’s resources so we saved some time at the detriment of having a flimsy house.
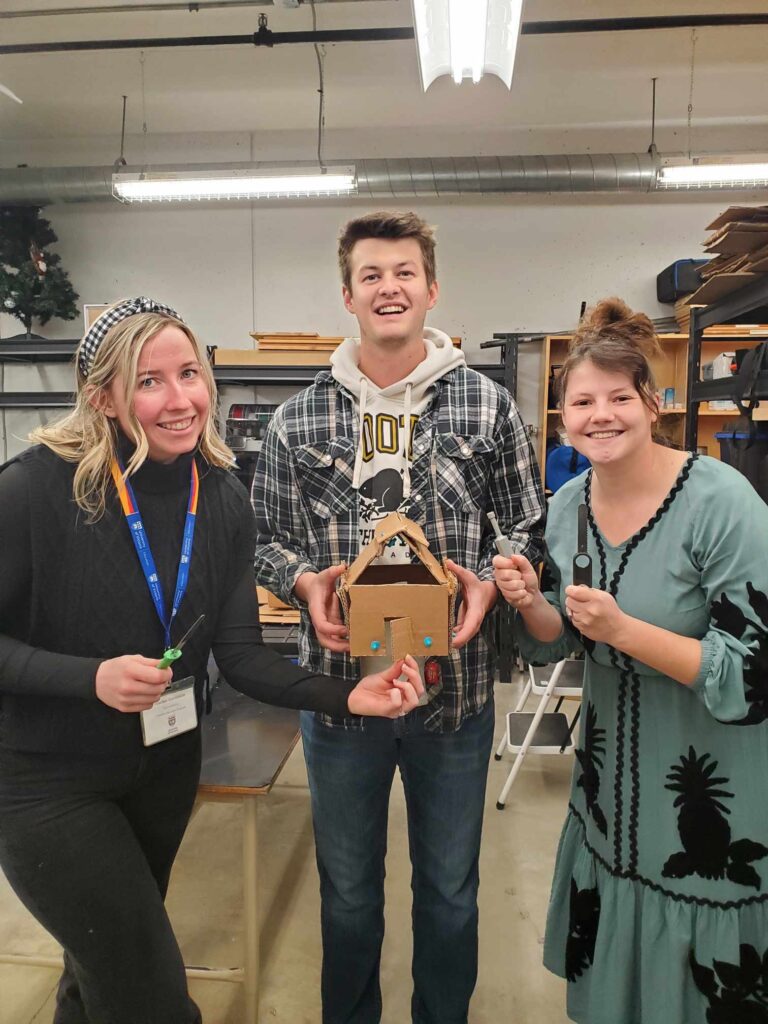
Here is the final product with all the tools that we used. Makedo is a great resource for classrooms as it is a great way to introduce construction and building to students in a very safe way. You could get creative and build many different things big or small.
3D Printers:
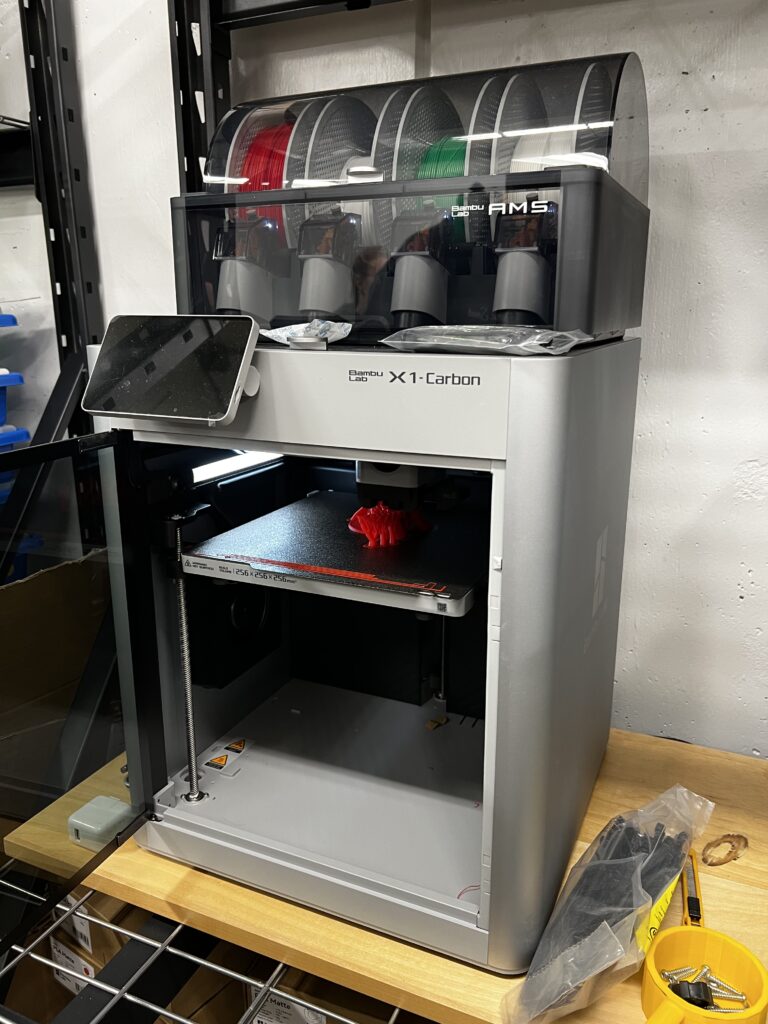
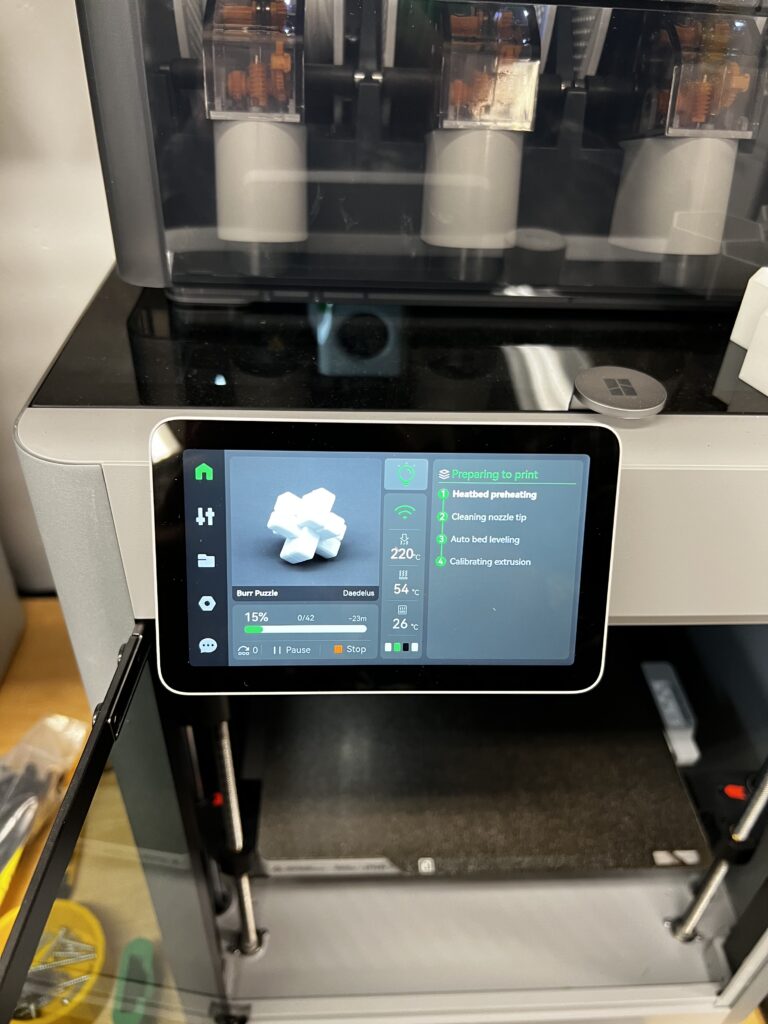
The printers were the most interesting one for me. The first photo and the video are the same creation. It is making sd card holders for the printer itself. The second photo is building pieces for a puzzle. Students can learn programming and have a physical project piece to have when it is done. The printers were able to make different parts different colours if it was programmed to. I was very fascinated by them as I have never seen one up close like this!
Process of Designing:
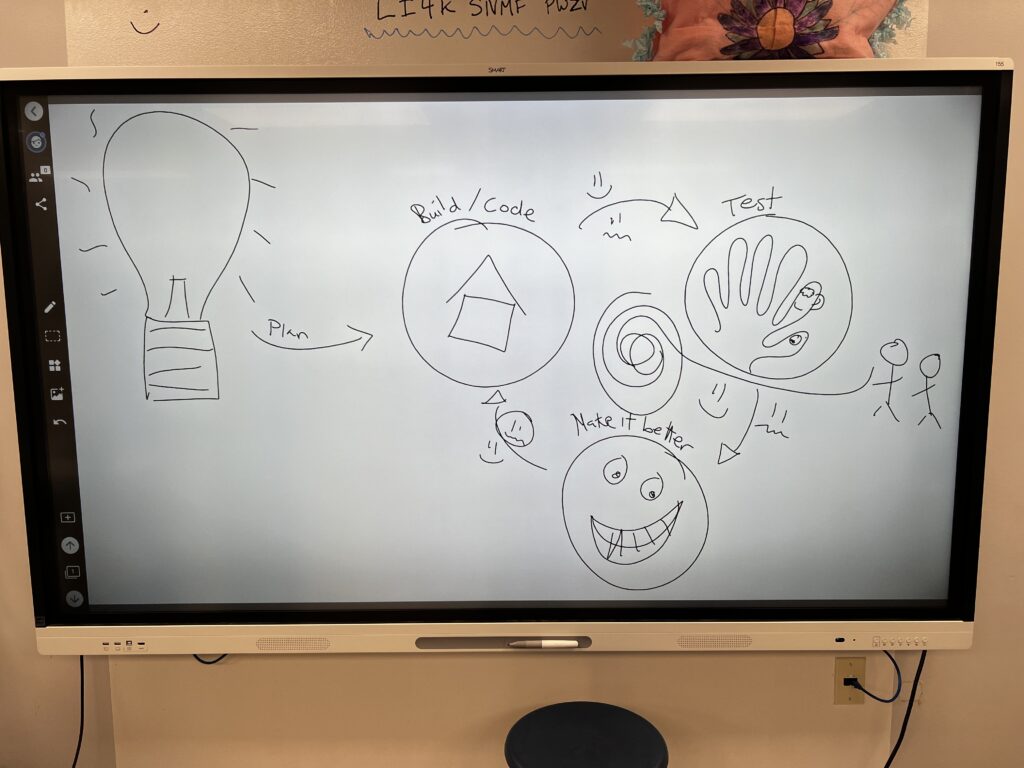
This is Ryan’s drawing board and how he explained it. An idea is sparked and planning begins. Once you have a plan you can start to build or code whatever it is you are doing. You then must test it over and over again. If it works, great! but is there a way to make it better. If it doesn’t work, try again! The best part of creation is that trial and error is inevitable. Regardless what you are working on you have to be okay with making mistakes and this is a huge part of learning. If we could all learn to make mistakes and work at it to get better, learning would become much more enjoyable and we would all feel more relaxed and comfortable while not being on edge or stressed about doing something wrong. The last portion of this graph is sharing. To share your creation with peers for feedback and for you all to enjoy is a very rewarding feeling. Whether in a competition style or show and tell.
Summary:
This was one of my favourite weeks of the school year so far. I did not add the VR, the printing pens, or the video game creation into this post as I did not have time to finish every activity. This was a very educational experience for me as I did not know any of these resources were all available or accessible to the school district here. I think every school should definitely utilize this space and learn from Ryan. He is very good at what he does and very good at explaining things as well. I am very grateful to have been given this opportunity!
If you have made it this far, thank you all for reading and I will be back again next week! Happy Halloween weekend!
– Carter White